This post is talking about the Submit button in Infopath. Submitting to a SharePoint library and resubmitting. My focus is to submit the form and in part 2 is to resubmit the form, you may want to display a successful message to the user, yes you can do this and still can give chance to submit another one.
Let’s see how to do this:
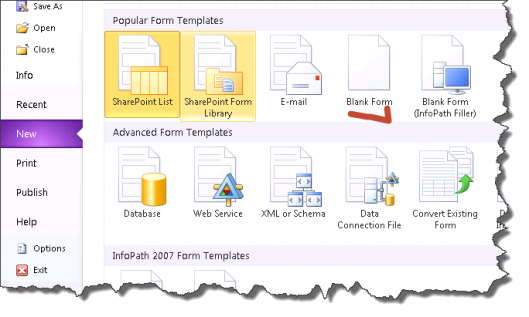
Step 1: Create a blank form
Step 2: Insert a table, Infopath already have some table designed to fit forms

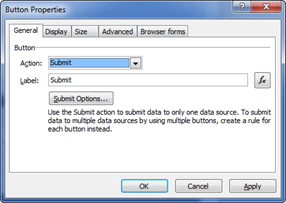
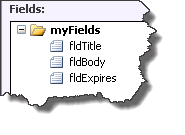
Step 3: Start adding field and give them a meaning name and add the 2 buttons, one for submit and the other for cancel


Step 4: now that we have the form designed, let’s make it ready for submitting to a SharePoint form library.
So here is the thing, we will be using form library, and our form will the custom template for that library, the reason for this, is when user creates new item, they will see our form and stay tuned because we will display Infopath form in a page in part 2 for this post, and no need to make the user go to the library and click new item.
So let’s start publishing

Type your SharePoint web application URL then click next, keep “Enable this form to be filled out by using a browser” checked, and keep it as “Form Library” that will be the template that will appear when clicking “New Form” later in another I will try to show you “Site Content Type”, click next,

I will be create the Form library from Infopath unless you have it created already, you will see it in section “Form Library to update”, click next

Give it a name and click next, now here add the 3 fields from the form, which will be a library columns, and later we will try to post about the below section of “SharePoint web part connection parameters”,


Now we are ready to the browser and we will see the form library created for us and we will the form is the library template.

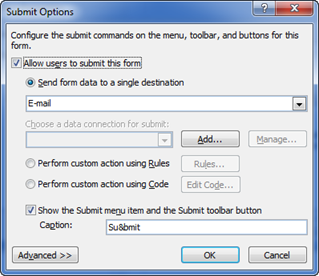
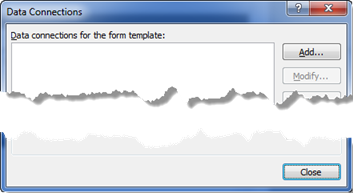
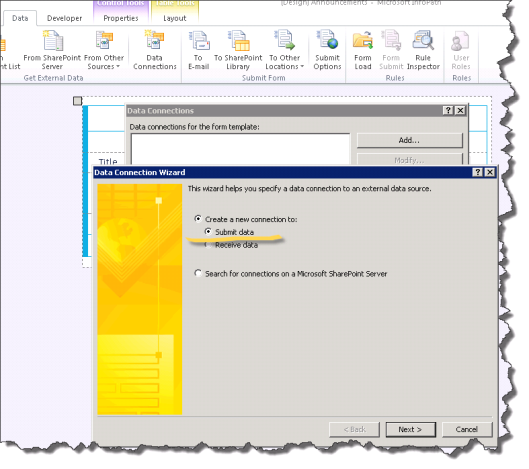
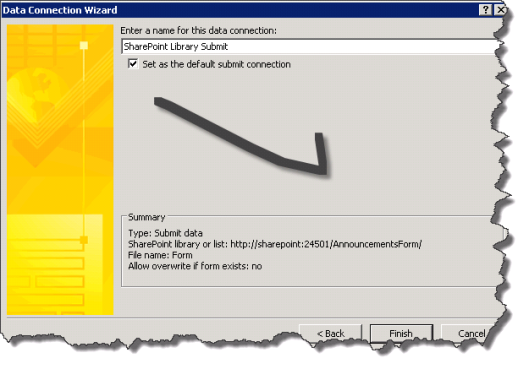
Now we need to go to Infopath and add a submit connection to our form library


After finishing the submit to form library, click the publish button at the top left corner in Infopath as below.